Porcelain mosaic is usually used as an interior tile wall to create a multicolor background to decor or simply to add a bit bursts of color. These meshes are frequently mounted on the back of mosaic tiles, which makes installation easier. It takes the place of mounting the tiles one by one, which can harmonize well with other materials of tiles and can be expediently trimmed to help fit the sheets into any spaces, such as kitchen backsplash, shower wall and so on.
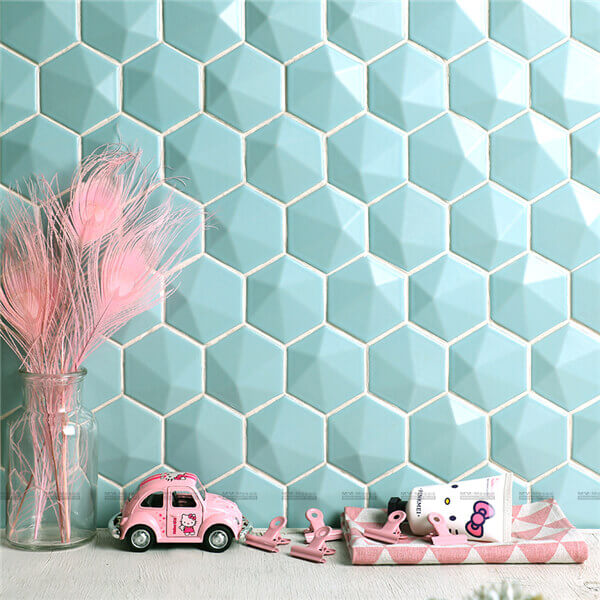
Glazed Matt 3D Hexagon Porcelain Mosaic, Blithe Green CZM711D
What a great way to choose mosaic to update the look of your kitchen on a budget. You may save even more if you do it by yourself in place of paying the professional installers costs. Have you considered installing backsplash on your own? Although it is an easy DIY project, you might run into some complicated things while you are installing. you might be worried that it will screw everything up because you're not a pro. Don't need to worry about that!
Here is a kitchen backsplash installation example from one of our customers Michael, we summarized the process of his DIY tile wall installation and hope the tips can help you.
Step 1 Switching Off the Power
The most important thing need to do is switch off the power to electrical outlets, meanwhile, take out any decor wall plates and other kitchenware anchored to the wall. Don't forget to cover the cabinetry and other surfaces with plastic sheeting held in place, which can protect them from smudging.
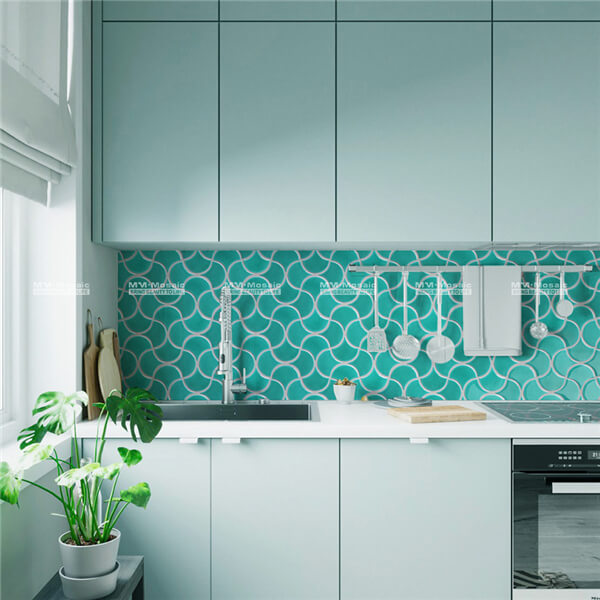
Crackle Fish Scale Porcelain Mosaic in Wave Pattern, Green CZB719X
Step 2 Measuring the area of the Mosaic
To determine how many mosaics you need to cover the wall area. The total area measured of the backsplash is not the area of the mosaics you purchased. Purchasing a few extra mosaics so that you have some replacements for tiles that might get broken during the paving process. What's more, you need to test out the design by laying out the configuration on your countertop after purchasing the mosaic in order to make sure where everything will be and where you will need to cut the tiles.
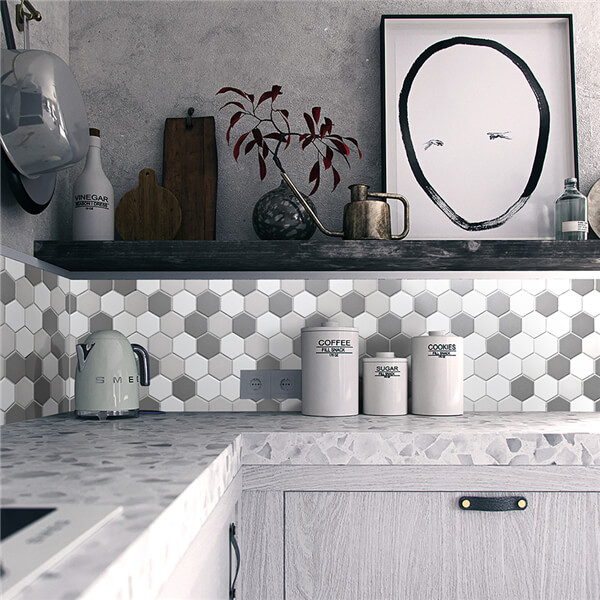
Full Body Hexagon Mosaic, Cool grey Blend CZO037B
Step 3 Sanding the Wall
Generally, people think it's alright to wipe the wall with a wet cloth before brushing adhesive. In the fact, sand the wall with sandpaper is necessary, which can remove any grease or grime as well as stop the tiles from adhering properly and making a coarse surface to help the mosaic hold more tightly. We suggest you to choosing medium-gift sandpaper, around 80 to 120-gift, to sand down the whole surface where you prepare to tile. By the way, if your wall surface filled with lots of grease stains, it is better to use a cloth with dishwashing liquid to wipe them away.
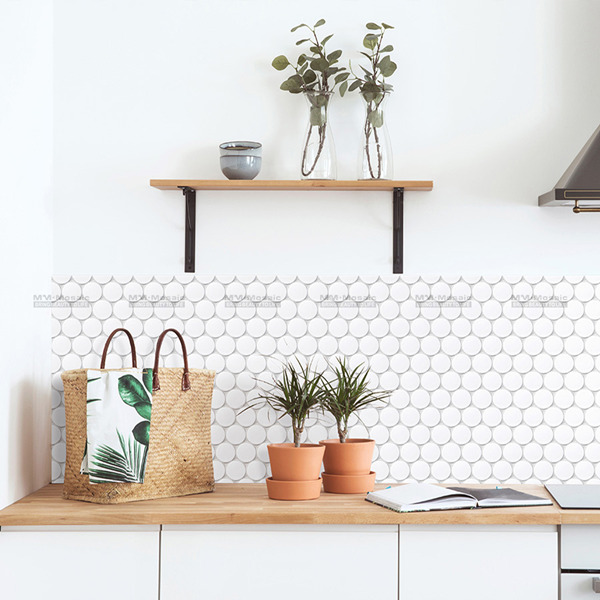
Cookie Circle Ceramic Mosaic, Matt White CZM241D
Step 4 Using a Sponge to Wipe Down Wall
After sanding the wall, you need to wipe it down with a sponge. Wring it out as much as you can and wiping down the surface of the wall to get rid of any stray dust or dirt left over from sanding. Water left on the wall might change the consistency of the mastic and let your wall tiles slide down so you should make sure that the wall is completely dry.
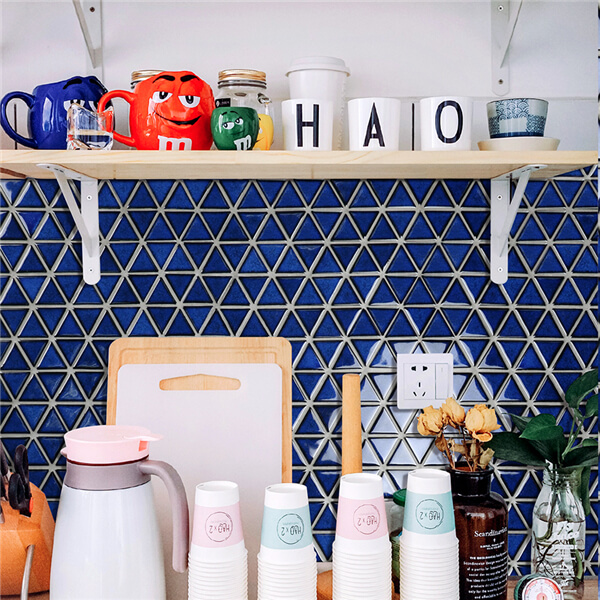
2“ Crystal Glazed Regular Triangle Mosaic, Dark Blue CZO657A
Step 5 Making a Central Line
In order to check the countertop is level, the best is to make a central line on the wall, using a straightedge to determine the midpoint of your backsplash and make it with a pencil, which helps you to ensure the edges of your backsplash are even.
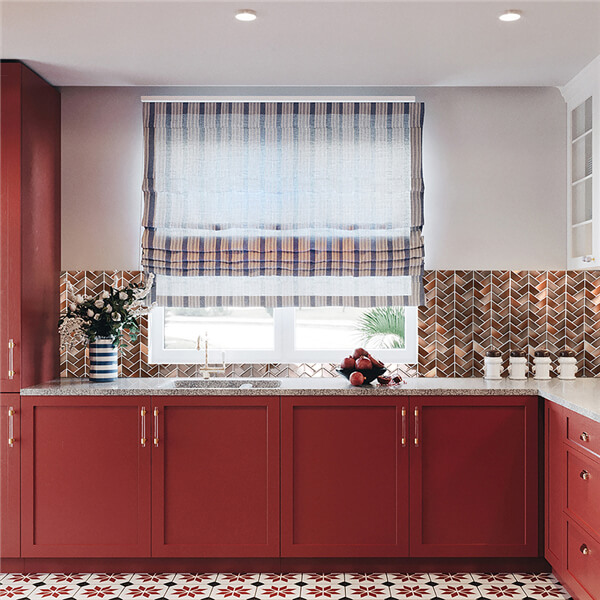
Crystal Glazed Trapezium Porcelain Mosaic, Khaki CZO977A
Step 6 The Way to Apply the Mastic
Many DIY homeowners have this problem. How should I apply the mastic tile adhesive on the mosaic tile backsplash wall? As Michael does, he uses a 0.48-centimeter trowel to scoop some mastic adhesive out and onto the wall. With firm pressure, he holds the trowel at a 45-degree angle to the wall and then begins spreading the mastic over the wall. You should pay attention to the time when brushing mastic because it will form a skin after around 10 minutes and it will stop mosaic from adhering to it. If the mastic begins to harden, you should use a wet cloth to wipe away mastic on the trowel.
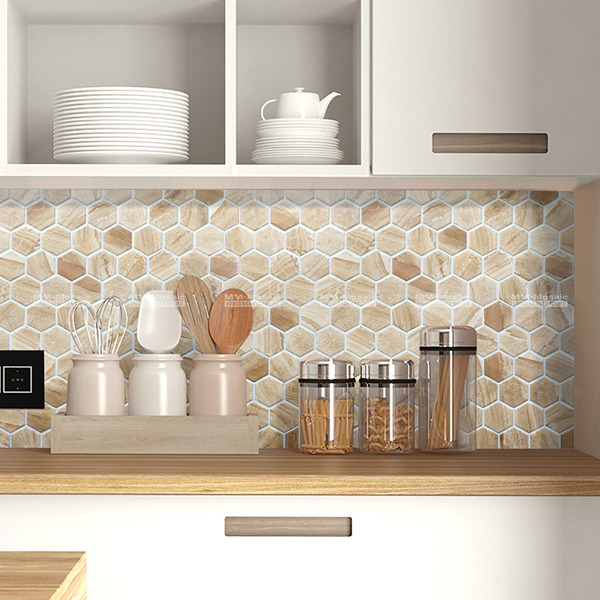
Travertine Hexagon Porcelain Mosaic, Ivorie CZO926Y
Step 7 The First Mosaic is Important
To place well the first mosaic is important, which will make the base for the rest of the backsplash. Lightly push the sheet into the adhesive so that it adheres well to the wall. Gently knock the tiles with a rubber mallet, which can make the mosaic more firmer set on the wall. We suggest that covering the entire surface line by line, after finishing installing the first row of mosaic tile sheets, working from the center of the wall outwards. During the process, you should check the mosaic are flat and even, and if not it is necessary to adjust it with a rubber.
Here is a professional suggestion for you: If you need to work around power outlets, cabinetry or other objects, it is better to position the sheet around it and take the measurements for the cut.
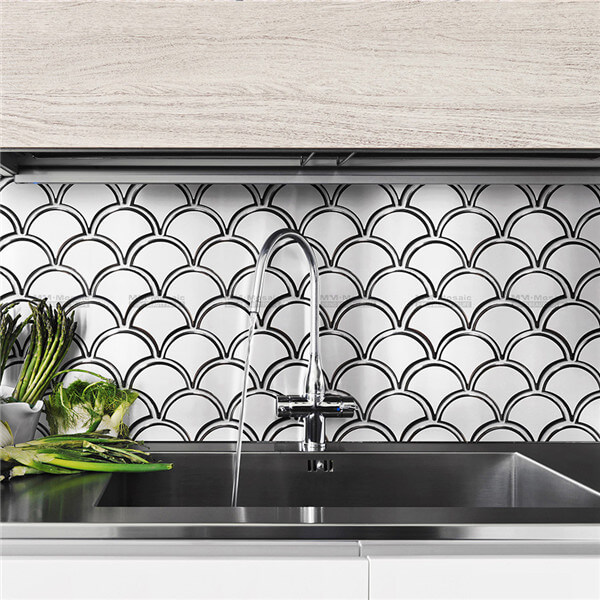
Glossy Metallic Print Porcelain Mosaic, Silver Fish Scale CZO935D
Step 8 Wiping Off Excess Adhesive
The mastic adhesive will begin to harden about 10 minutes later, but it will take much longer for it to set up completely. After finishing installing all the mosaic, you need to wipe off excess adhesive with a damp sponge and wait for 24 to 48 hours before grouting. Here to mention that, if using the natural stone or matt surface mosaic, you should put up it with sealer 30 minutes, which will prevent the grout from sticking to the mosaic surface.
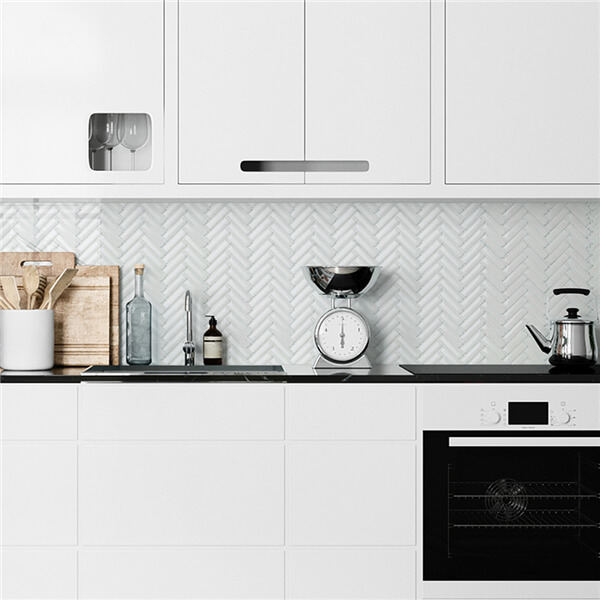
Premium Glazed Herringbone, White CZO352A
Step 9 Applying the Grout
After 24 to 48 hours, the first thing needs to do is wiping down the mosaic with a fully wet sponge so that there is no dirt on the surface. With a rubber float, applying the grout to the sheet by spreading it diagonally at a 45-degree angle and pressing the grout into all the gap. As the grout begins to firm up, you should wipe away any excess grout with a damp sponge. The fact that circling motions works well to remove grout from the surface without taking it out of the grooves between mosaics. It may be a slight haze over the mosaic even after the grout is completely dry, therefore, you can use a soft cloth to remove it.
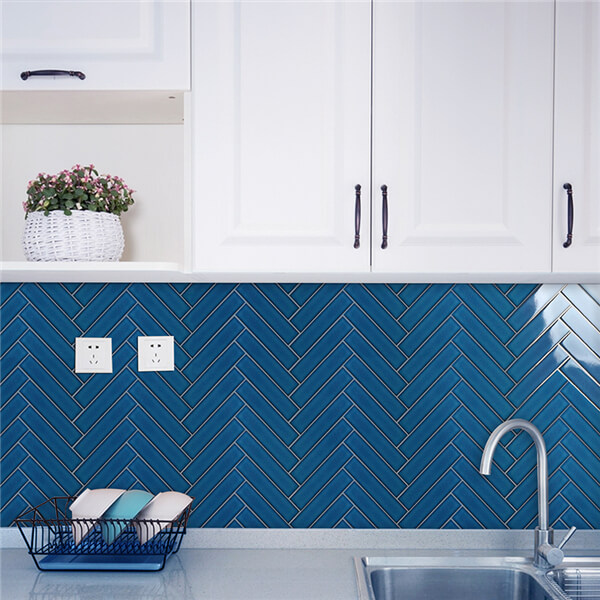
Strip Herringbone Porcelain Mosaic, Crystal Glazed Blue CZG601B
Step 10 Lining the Edges by Caulk
Using the caulk to line the edges of the porcelain mosaic tile backsplash. It can stop water or moisture from getting behind the mosaic and damaging the consistency of mastic. Tracing around all edges of the whole backsplash with caulk in order to seal the mosaic completely. By the way, the most appropriate thing is using a similar color of caulk so that it pairs well with the grout color.
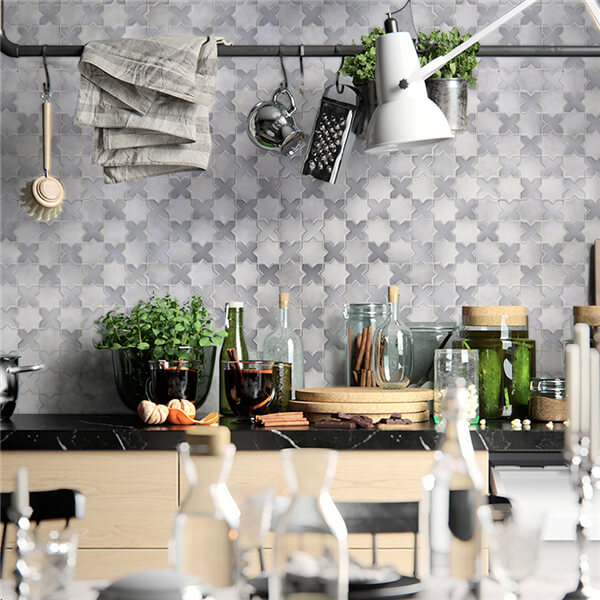
Star & Cross Porcelain Mosaic. Light Grey Blend CZO033A
Have you inspired by the DIY installation process of Michael? DIY installation can save more budget, you don't be afraid of making some trouble because even if professional installers had to learn this same knowledge. Want more backsplash design inspirations? Maybe this article can help you: Take Your Kitchen To The Next Level With A Tile Resurfacing >>>
Before you start the DIY installation, you can contact us for more knowledge about the details that no mentioned above. MM-Mosaic, an over ten years experienced manufacturer, can provide the most professional suggestions and the most premium products for you.